
Britany
Bathroom Cleaning: Steps and Tips
The bathroom is easily one of grossest rooms in the house. They get so much use from every member of the household that dirt, grime, and bacteria build up quickly. Cleaning the bathroom is everyone’s least favorite chore. With these Bathroom Cleaning tips, the job won’t seem as daunting and your bathroom will be sparkling clean and germ-free.
Step 1: Start in the Shower
It is important to remember that a lot of cleaning in the bathroom requires standing time. Standing time is time that you allow cleaning solution to sit on the intended area before you start scrubbing. Cleaning solutions can do a lot of the work for you if you allow it proper standing time. Start this first step the night before your cleaning extravaganza or before you go to work. Fill a plastic bag with enough white vinegar that it will submerge the shower head completely. Put the shower head in the bag, secure it with a rubber band and let it sit. This should soak for about 8 hours to remove water build up that can cause poor pressure in your shower head. After about 8 hours take the bag off and scrub with a cleaning toothbrush, then turn the water on and let it run through to push out any debris. Next, spray the shower or tub walls with either a multipurpose cleaner or a mixture of white vinegar and water. White vinegar is excellent for removing soap scum. Soak the shower and/or tub and move on to the rest of the bathroom, giving the shower standing time.
Step 2: Toilet Time
The toilet bowl is another area that needs some standing time. Spread the toilet bowl cleaner around the inside of the bowl or use ¼ cup of chlorine bleach and let it stand while you use a multipurpose cleaner to wipe down the toilet seat, outside the bowl and the tank. You can use a cleaning toothbrush for any urine drips that have hardened outside the bowl. By the time you’re done cleaning the rest of the toilet you can begin scrubbing the inside of the bowl. Use a toilet brush to scrub out any stains or mineral deposits. Flush when you’re done scrubbing and inspect if anything is still hanging on to your toilet bowl. You can use a damp pumice stone to scrub stubborn lime scale or mineral deposits. If you have stubborn water rings you can pour white vinegar into the bowl and let it sit for an hour before scrubbing again.
Step 3: Sink Scrubbing
The bathroom sink takes a hit every day. Toothpaste, settling hair products, lime scale, falling makeup, and even leftover beard stubble that he swore he cleaned after shaving are regular residents of the bathroom sink. This is the place to take most care in disinfecting. The bathroom sink tends to carry even more bacteria than a toilet seat. You touch the faucet handles after using the bathroom before you wash your hands. Start by spraying the whole sink with bathroom cleaner containing bleach. Scrub with an abrasive cleaning tool to remove tough spots. It’s best to use disposable disinfectant wipes to wipe down all the surfaces and handles of the sink after scrubbing and rinsing. A good way to get in the nooks of the faucet is with dental floss. Floss around where the faucet meets the sink to get stowed away dirt. Finish up the sink by spraying disinfectant over the surface.
Step 4: Walls, Shower Curtains, and Hand towels
Remove any shower curtains and hand towels and put them in the wash. Most shower curtains can be machine washed. Spray all the walls with a multipurpose cleaner and wipe them. A film can build up over the walls from steam and dirt. Hang the shower curtain back up to dry and dry the towels depending on recommendations from the manufacturer.
Step 5: Back to the Shower
It’s time to wipe down those shower walls that have been soaking in cleaning fluids. Often times whatever was sprayed onto the walls has dried at this point. Either wet the walls with water from the shower head or another layer of cleaner to reactivate the dry cleaning solution. After that, scrub the walls with an abrasive cleaning tool and rinse well with water.
Step 6: Floors
Save the floors for last. You don’t want to risk slipping on a wet floor or ruin the cleanliness from cleaning other bathroom items. Wipe the floor with a multipurpose cleaner or a bleach and water combination. Use a cleaning toothbrush to get into tile grooves. In six steps you can have a clean and sterile bathroom. Use these cleaning tips to get this room as clean as possible. Make sure that you are wearing gloves at all times when handling chemicals like the ones I’ve mentioned for cleaning. Also, keep the door open and the fan on to ventilate harsh smells.
This post was offered by Nina Wells from Clearwells. Nina is an expert writer in the health and fitness niche and has been writing and studying topics like this one for over 10 years.

You might also like...
Wear Red. Just Do it!

When in doubt, wear red. Let’s face it, most days I just don’t want to get dressed. With kids, dishes, house cleaning and my often unmade bed calling my name….what the heck is the point of getting dressed?? Seriously, are you with me here? Thank goodness for the fact that I have to pick my kids up from school and I don’t want to arrive looking too homeless; otherwise, I might never get dressed.
Even though getting showered, putting on real pants and wearing makeup seem like such a chore, the days when I do take the time (even a tiny bit of time) to get ready I just feel better. I know I am not the only one who feels this way. I am a nicer mom and a nicer wife and I usually get more done if I am some semblance of dressed. I also know I am not the only one who has wardrobe wars when trying to figure out WHAT to wear for the day. Let’s get real here, that alone is often the reason I stay in sweat pants, I hate deciding what to wear. But, one color always makes me feel better, and that my friends is red.

So when in doubt, wear red. Even if you just manage to throw on sunglasses and red lipstick with your tshirt. BOMBSHELL is what that is! Red is Continue reading
You might also like...
Easy Homemade Potpourri

Who doesn’t love their house to smell amazing when they walk in the door? Sometimes I wonder what my house smells like. Does anyone else have that same problem? I think that because we live in our own houses that we can’t really smell what “our” smell is. I walk into other people’s houses, or give someone else a hug and I can smell all sorts of things. Their laundry detergent, cleaners they use, air fresheners , candles they light or plug in, air sprays, deodorant and hair products, etc. All the things people do in their houses combine to give them that unique smell that is all them. I have always wondered what unique smell my own house has. For anyone who has been in my house, feel free to comment on the smell of my house, unless it smelled funky while you were here…..in that case, keep that to yourself. 🙂
Let’s be honest here….there are definitely times that I KNOW what my house smell is because I walk in the door and WHOA, stink alert! Dirty dishes, dirty laundry, the garbage can, and so many other things can make my house smell bad. And during the holiday season I am almost always behind on my household chores.:( Too much stuff to get done! Luckily there are things like Scentsy (my personal favorite in yummy home smeller uppers) and air fresheners and potpourri.
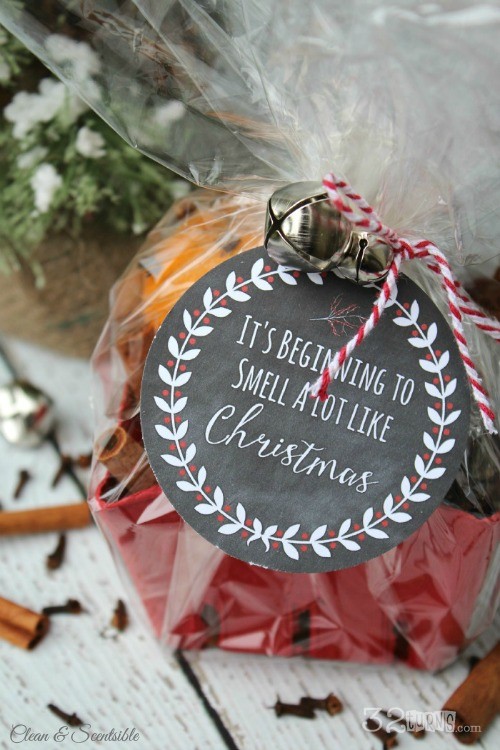
At Christmas time I really like to make my own homemade potpourri. It is so easy, and super cheapo, cheap. Plus, it smells really, really good. Basically, it makes my house smell like Christmas, and that makes my heart happy.
I l-o-v-e to walk into my house and get punched in the face with a yummy smell. I mean punched, no wussy fragrances for my home, nope, only strong smells people. No guessing about it, you walk in the door and you know you what you are smelling.
Here is the recipe I use every year to make my home smell like a Christmas Wonderland. Definitely a delight (hee hee) to my senses! Bring on the Holidays!
RECIPE:
handful of fresh cranberries
orange slices
3 to 4 cinnamon sticks
1 TB cloves
2-3 cups water
DIRECTIONS:
Add ingredients to a pot and simmer on the stove. If the water gets low, just add more and enjoy the delicious smell!
Hope your home smells wonderful for the Holiday Season!
This potpourri also makes a wonderful gift! Here are some links from some fellow amazing blog ladies that also have a free gift tag printable. Just package up the ingredients, attach the gift tag and hello~ awesome gift!
“Simmering Potpourri” from Something Scentsible

“Stovetop Potpourri” from Liz on Call
You might also like...
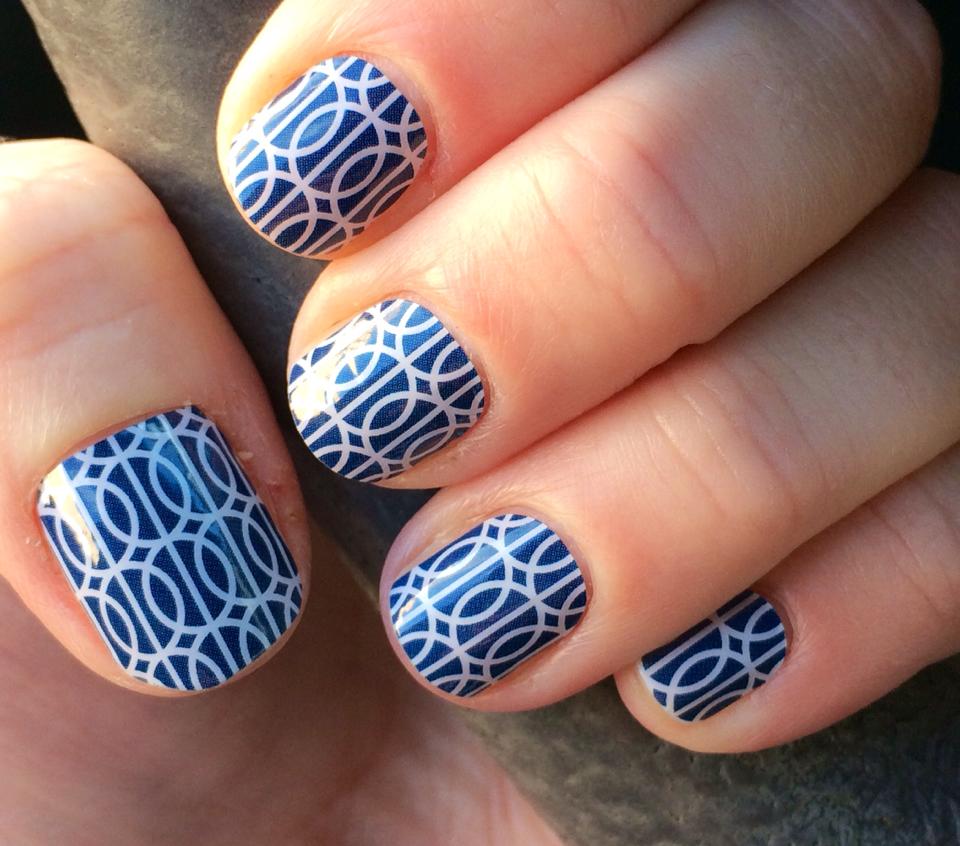
How to Apply Jamberry Nails
Applying your Jamberry nails can seem like a confusing task. You have purchased the wraps, you are dying to put them on but you want to do it right so that they stay on your finger nails/toe nails for as long as possible!
When people find out that I sell Jamberry Nail Wraps I either hear that they love them, or that the wraps didn’t work at all for them! I always encourage those who didn’t have success with their wraps to try them again. If they try again and follow the application process exactly they almost ALWAYS have success! Almost 100% of the time that someone tells me their Jamberries fell right off, or didn’t last more than a few days, it is user error. 🙂 You sure can’t be lazy when putting on your wraps {wink}. It does take a bit of time, but the extra time spent during application sure Continue reading
You might also like...
What are Jamberry Nails?

I have recently become a Jamberry Nails consultant and I am LOVING it! What are Jamberry Nails you say? They are adhesive vinyl that lasts on your fingernails for up to 2 weeks and your toenails up to 6 weeks!! What! Shut the front door right!
I love, love, love having my
nails painted but I have a hard time finding the time to paint them and let them dry, I always ending up dinging them while they are still wet, ugh! Plus let’s be honest here, I am not Continue reading
You might also like...