
How to Make a Kids Apron
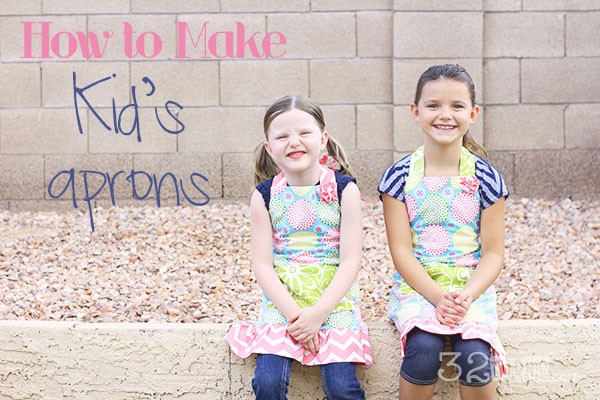
Hi everyone! I am excited to be here guest posting for Britany’s awesome blog. A few weeks ago I got to spend a few days visiting my sister and her family WITHOUT my own three wonderful crazy children. Brit and I both started having kids around the same time so I don’t often get the opportunity to just be the fun Auntie. I really enjoyed hanging out with my two cute nieces without the distraction my own responsibilities bring. Here is a picture of me and my little rug rats and husband.

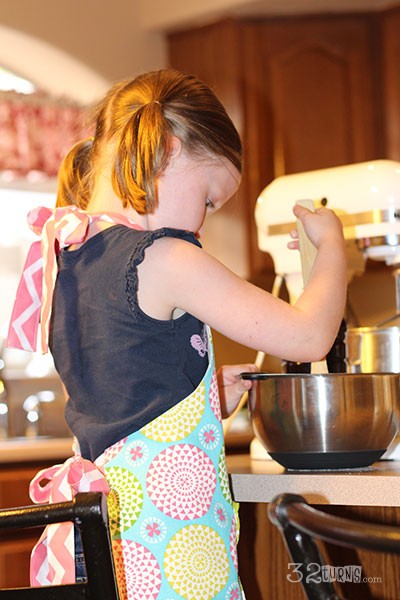
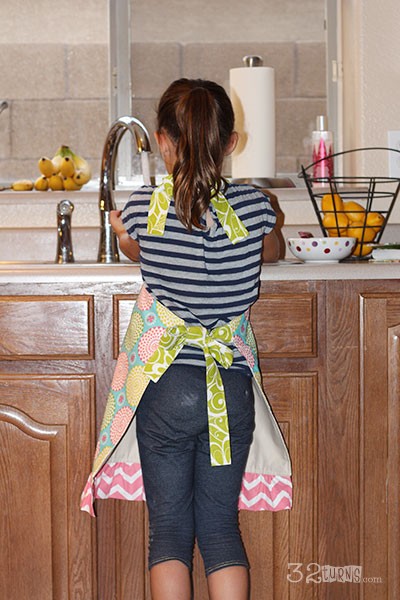
The girls and I wanted to make yummy chocolate chip cookies but we decided that we NEEDED to have some aprons just their size. So we trekked over to the neighborhood JoAnn’s to find some fabric. It took a little persuading to choose the fabric, considering the girls REALLY, REALLY wanted to get super soft fleece fabric for their aprons (good for blankets, not so good for cooking aprons!) After a little bit of cutting, sewing, and ironing we had two adorable aprons all ready for two adorable baking assistants. Here is the final result!
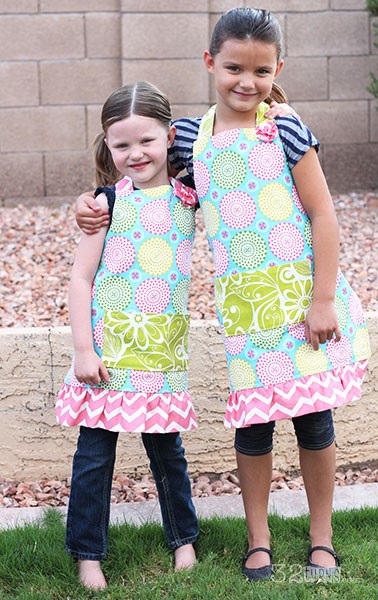
Turned out pretty good right?! So here is the nitty gritty on the how to do it.
What you will need:
1. Coordinating fabric in the following sizes
Fabric A (main piece) 45 x 22 so get about 3/4 yard, home decor fabric is best for A and B because it is thicker
Fabric B (back) 45 x 22 about 3/4 yard, I choose plain tan because it was fabric we already had on hand and therefore free, who doesn’t love free?! You can choose another coordinating pattern if you like because this is a REVERSIBLE apron.
Fabric C (ties and pocket) 44 x 18 so get at least 1/2 yard, simple quilting fabric will work great for C and D
Fabric D (ruffle) 34 x 8 so get a little more than 1/4 yard
2. Don’t forget thread!
3. Needle (optional) for sewing the flower
4. Large paper (butcher paper, parchment paper, or your child’s art paper which is what we used!) for making the pattern
Start with your large paper and cut out a rectangle 22 x 11. Mark one long side FOLD 23″. Measure and mark the other long side from the bottom at the 16″ mark. Measure and mark 4 1/2″ on the top short side from the side you marked for the fold. This may sound confusing so just look at the picture below and hopefully it will make more sense! Then find a bowl or some other larger circular object and draw a curving line from the 4 1/2″ mark and the 16″ mark for the arm curve.
This is the time to make sure the fit is just how you want for your little one. Take the paper pattern and hold it up to your model and decide if it is too long, too short, or fits just right (remember there will be an inch of loss in the length for the seam allowance and a few inches of ruffle added to the length). For instance for Taylor (the youngest) we decided to take off a few inches so that her apron wasn’t too long. If you want it shorter, just cut off from the bottom. If you want it longer, just add some extra paper.
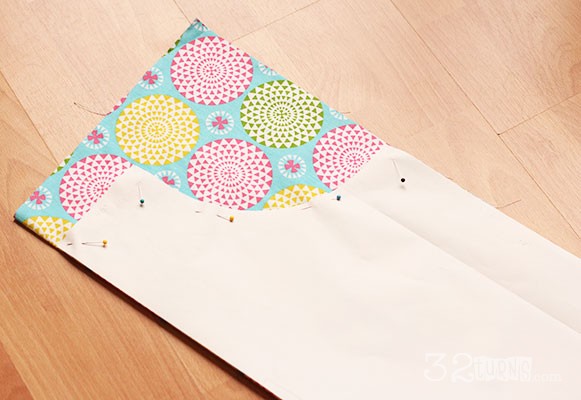
Make sure your fabric is all ironed and ready to go. Take Fabric A and B and fold them hot dog style and place your awesome looking pattern on top (make sure the side marked FOLD actually gets placed on the fold). Pin around the edge of the pattern and cut your fabric to match.
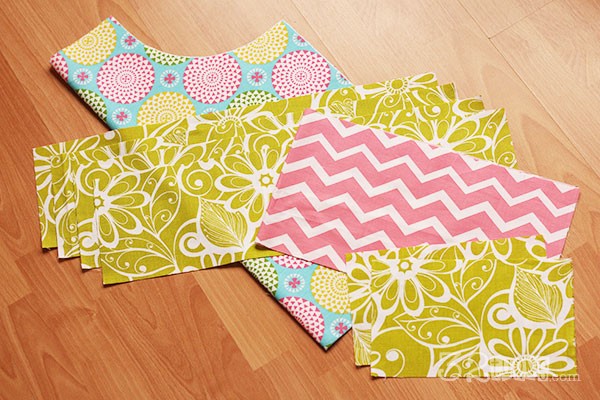
Cut the rest of your fabric in the sizes below ( if you can get a rotary blade and mat it is totally worth the cost!)
Ties (4) 6″ x 20″
Pocket (2) 6″ x 10″
Ruffle 34″ x 8″
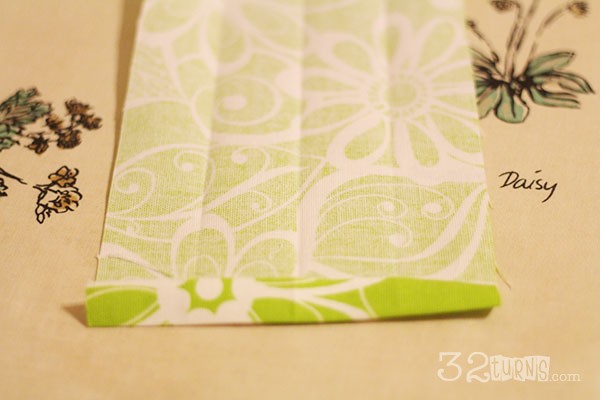
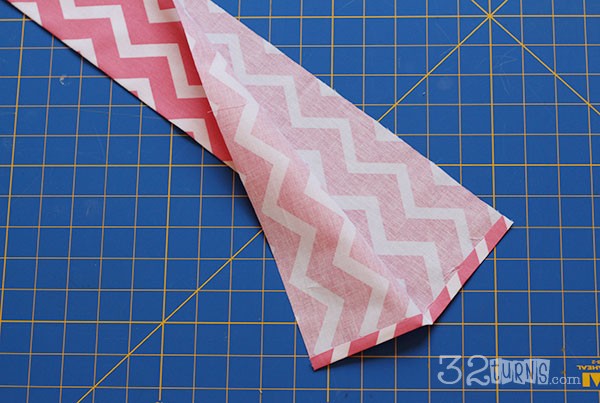
Next take each of your straps and heat up your iron! Press a half inch fold on one short end. Then fold in half lengthwise and press, then open. Take each side and fold into the center crease you just made, press. When you are done, it should look like this.
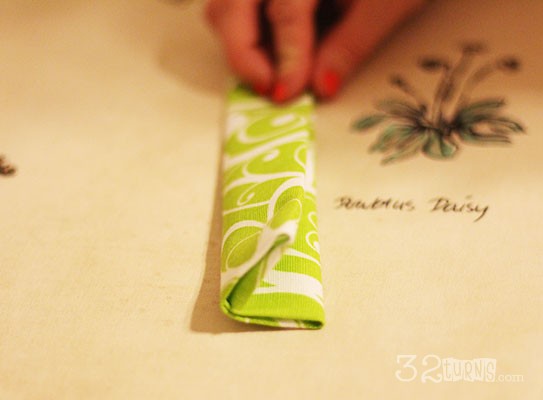
Then fold the sides in and fold whole strap on original crease and press again.
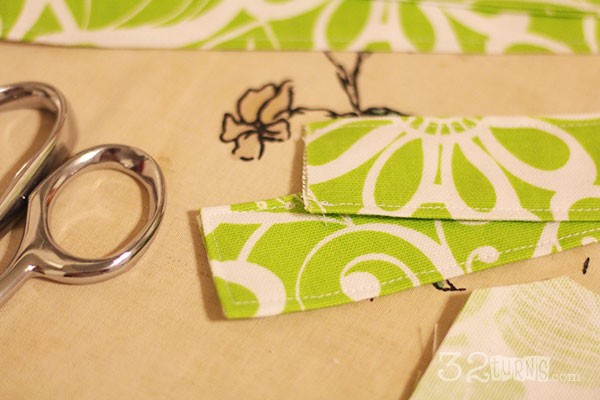
Top stitch around two long and one short side. Not sure what size top stitch, maybe 1/8 inch, whatever looks good to you! Repeat with each strap.
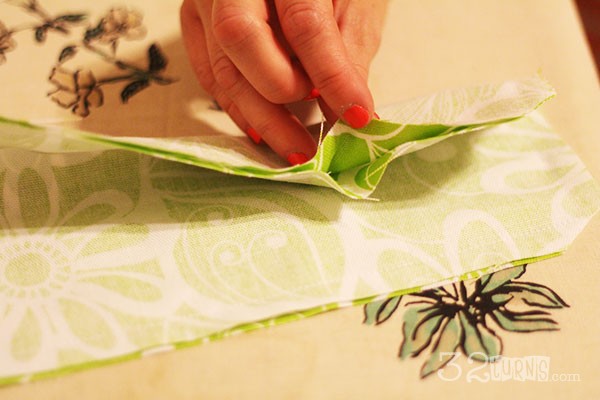
Next prepare the pocket. Turn the two pieces of fabric right sides facing each other, pin all around and sew a 1/2 inch seam. Make sure to leave a spot a few inches wide somewhere in the middle of either the short or long side for turning purposes. Clip corners, turn right side out, and press.
Now for the ruffle! Take the rectangle of fabric and press in about 1/2 inch on each short side, then fold in half lengthwise and press. If you want to finish everything beautifully and you have some Stitch Witchery, use it to secure the two short sides together so there is no seam on the outside edge of the ruffle. I didn’t have any of this and decided to skip this finish step since you don’t really see it.
Then use a basting stitch (longest stitch length, made to just hold things, ruffle things, or to be taken out easily if needed) to sew along the unfinished edge about 1/4″ seam. Tie the string tails in a double knot on one side so the ruffles stay. Then pull ONLY the bobbin string, the one that is on the bottom side of the fabric.
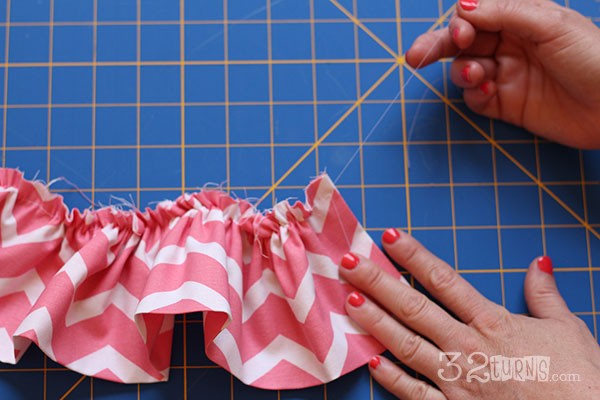
As you ruffle the fabric, keep checking the total length. It needs to be ruffled to match the bottom edge of the apron at about 22″ or so. You can also measure it against the main piece of the apron as well to make sure it is the right length.
If you want a flower, go ahead and make one or more, see tutorial here.
At this point you will start attaching all the different pieces to the apron front.
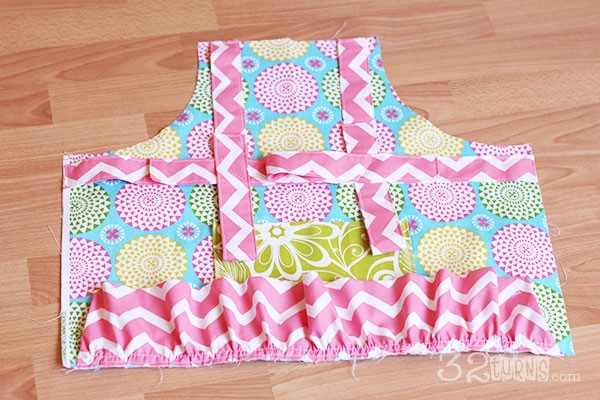
Decided where you want your pocket to be and then sew along the two short sides and the bottom with 1/8″ topstitch. (An easy way to find the middle is to iron both pocket and apron in half just a little and then line then up, no measuring!)
Line up the straps 1/2″ from the corner edges for the final seam allowance. Sew the straps on with a 1/8″ seam allowance, make sure to backstitch!
Attach your flower(s) with a simple needle and thread. I decided to add the flower after I had finished the apron but the problem with this is, there will be hand stitch marks on the back of your apron if you wait like I did, rather then hide the stitching on the inside if you attach it now:)
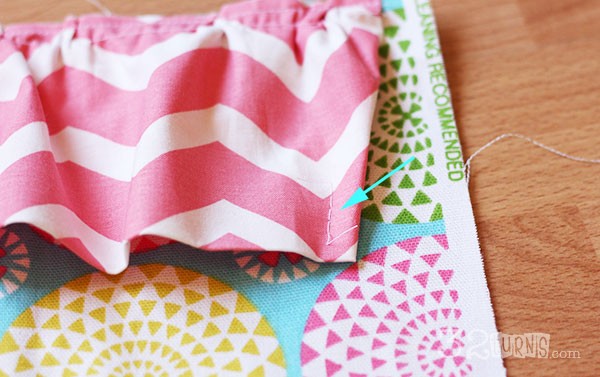
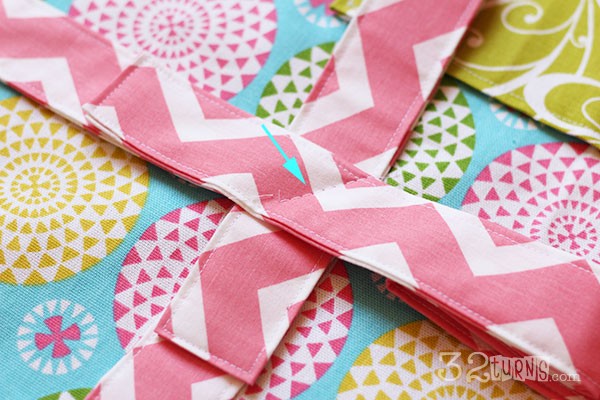
Line up the ruffle as shown in picture, pin well, and then stitch 1/8″ seam along the bottom.
I used a basting stitch to secure the straps and the edges of the ruffle to the inside of the apron so they wouldn’t get in the way of the final stitching, since they would be inside and unseen. You can use pins to do this instead of a basting stitch just be careful when you reach inside to turn the apron right side out!
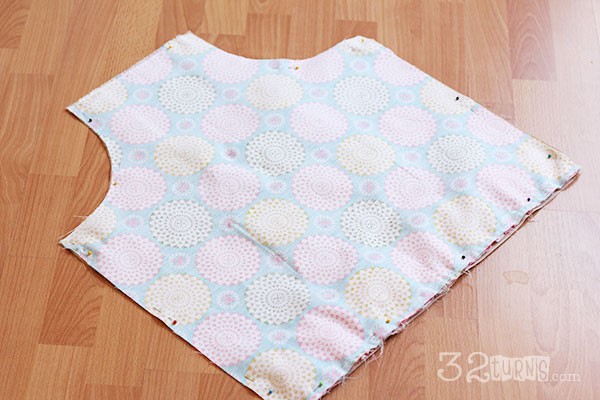
Now take your backing and place both pieces right sides together. Pin around the edges.
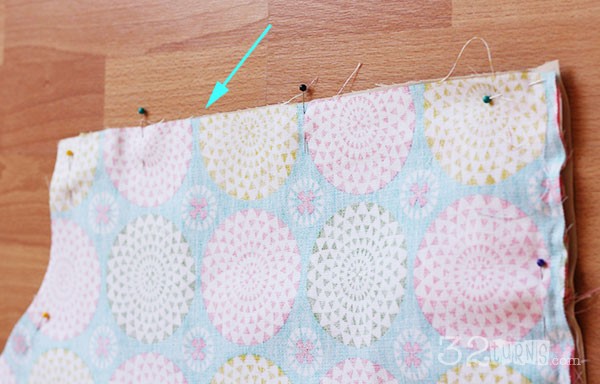
Make sure to leave a spot for turning, preferably about 3-4 inches. I mark mine with pins that go in a different direction so I don’t accidentally sew it closed!
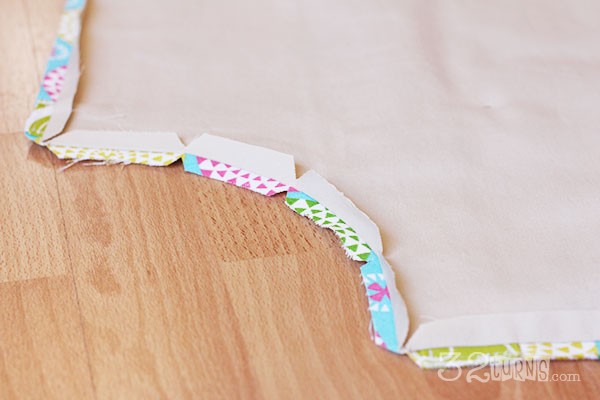
Stitch a 1/2″ seam around the the entire apron, except for your turning spot. Clip some notches out around the arm curves so the apron doesn’t get bunchy on the inside when you turn it. I press my seams open a little all around the apron because it makes the pressing easier when you have turned it right side out. Totally optional!
Turn the apron right side out and press really well. Top stitch around the whole apron with a 1/8″ top stitch.
DONE!! Now go make some delicious cookies:)

You might also like...
6 Responses to How to Make a Kids Apron
Leave a Reply


these are so cute. I want one.
These look fantastic!!! I might have to make some here.
Okie Dokie aprons for all!!
These are adorable! Love your choice of fabric.
They are so cute I want you to make me one!!!!
I know! I saw these and thought those are so cute I want one for me! Great pictures and super cute idea!