Easy Pillow Covers
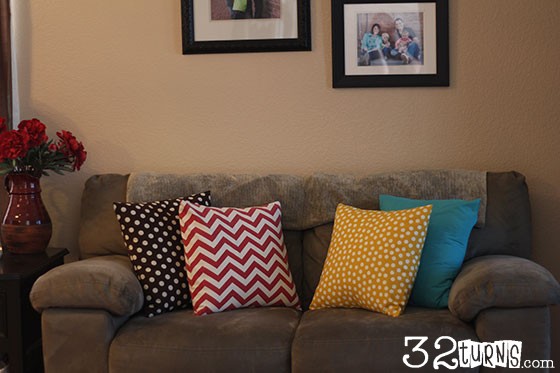
Ok, this is embarrassing to admit…but the pillow on my couches are over 6 years old!! Yes, I wash them, but YES they need to be updated STAT! The above pic shows the covered pillows because I just couldn’t take a close up pic of the old ones! Covering them has been on my to do list forever. I would love to have just bought new pillows but have you shopped for couch pillows lately? They are expensive, holy cow!!! But sewing covers for them, totally within my budget. My pillow forms were still in great condition, but the sequins and designs on the pillows were a little ratty people!
Sewing these pillow covers was seriously easy. Especially after I finished the first one, it’s always easier after you get one figured out. I found a tutorial over at Texas Cottage, and used the directions to sew my first pillow. It worked great, but the cover was a little too tight for my liking, so I changed the measurements a little, whipped up some easy pillow covers, shot some pictures, and here it is, my first sewing tutorial here at 32 Turns. I think they turned out AWESOME!
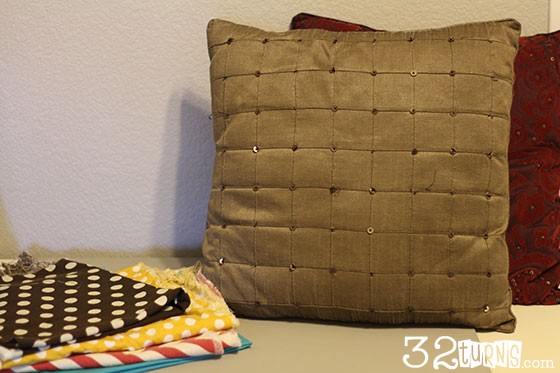
To start you will need to gather some material and a pillow form. I wanted to be able to wash my pillow covers, so to avoid them shrinking after I sew them I washed my fabric first. This step is completely optional.
Measure your pillow across the center to determine the size. My pillow is 17″x17″. I found some great fabric, of course at Hobby Lobby. I cut my fabric to 17.5″x38″.
To determine the size you need to cut your fabric, first, take your pillow measurement and add half an inch. This will be the short side of your fabric. My pillow was 17″ so I cut to 17.5″. Next take your pillow size and multiply by 2 (for front and back lengths) then add 4 inches for seam allowances. So I took 17″ and multiplied by 2 and then added 4:
17 x 2=34+4=38.
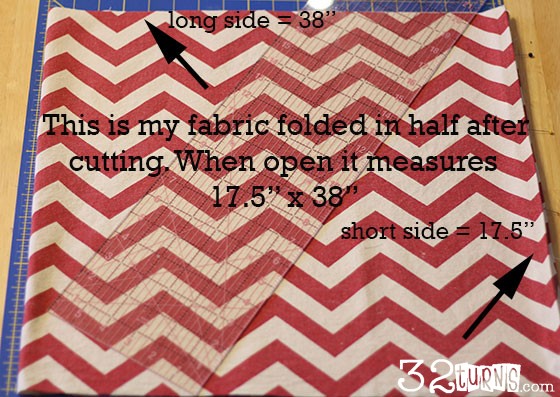
So my fabric is 17.5″ x 38″.
Here is how it would work if your pillow was 19″ x 19″, you would cut your fabric to 19.5″ x 42″. Does that make sense? Hopefully it does =)
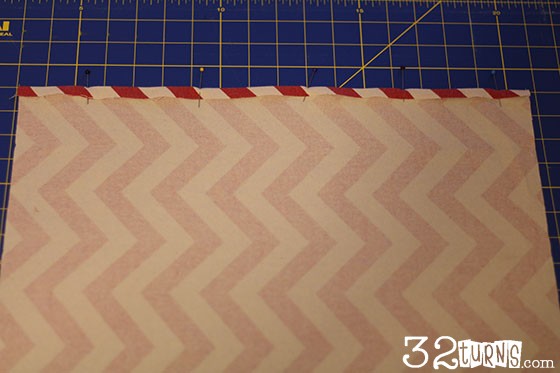
Put your fabric right side down, take the short end, in my case it was the 17.5″ end, and iron and pin a 1/2″ seam allowance.
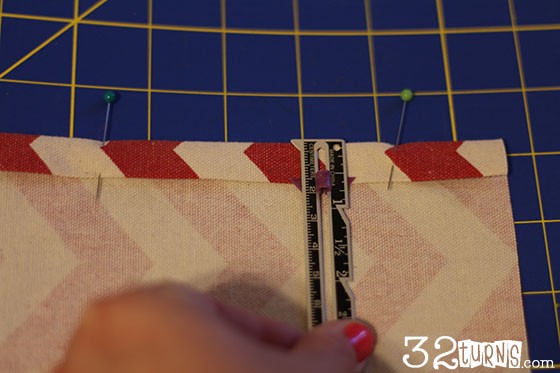
Flip the fabric to the other short end and fold it over 1/2″ and iron. Then fold it over 1/2″ again and iron and pin. This hem will be side up on the back of your pillows, you fold it over twice before sewing to give your final project a clean look with no loose ends hanging out. Sew up both short sides.
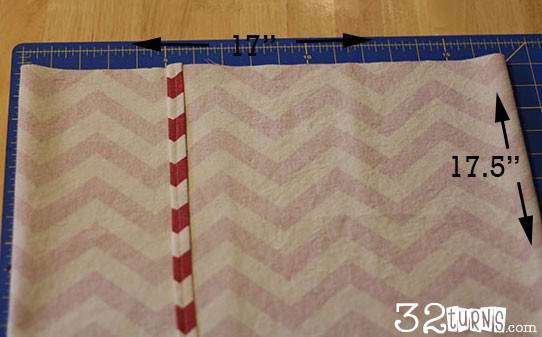
Lay your fabric flat, right side down, take the double folded short end and fold it over close to a third of the way. Then fold the other side and overlap your ends adjusting until your pillow measures the correct size. I folded the first end over at 7″ and the second end over 12″, this gave me a nice overlap and I like the overlap more to the side then the center of the pillow.
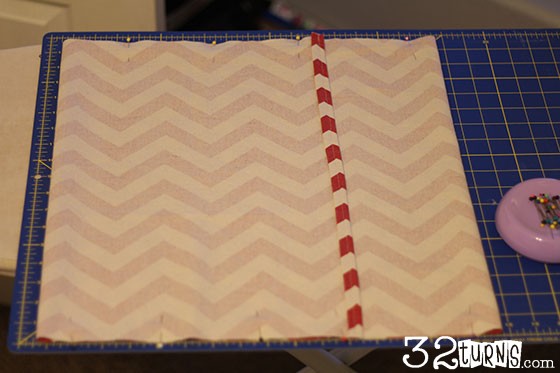
Pin at the top and bottom and hem with a 1/2″ seam allowance, then trim excess fabric from corners.
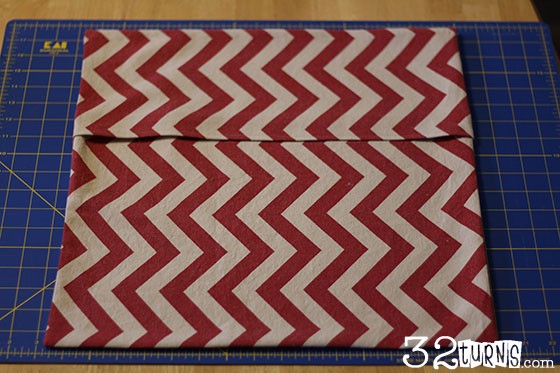
Flip the pillowcases right side out, I of course ironed mine flat so the edges and corners were nice and crisp, but I am crazy like that, and this step is totally optional. See how the flap is at the top instead of the middle, I think it makes it easier to get the pillow in and out.
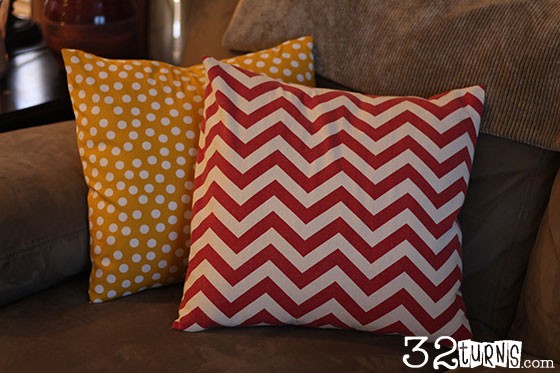
Stuff your pillow in and you are DONE!
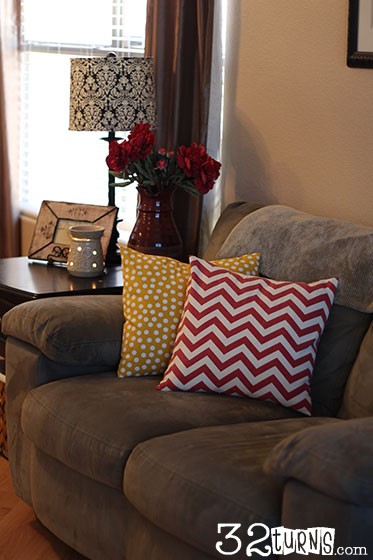
I am SO super happy with the results! These covers bring some splashes of fun colors and patterns into my living room. The color scheme has been green and red and black for a long time (totally 10 years ago right?!?!) and I have been working to add in some teal and yellow and brown to the green and red to update it. I want to LOVE my living room especially since we spend so much time there. Remember my post Things That Make Me Happy where I talked about “filling our space with ONLY things we love then we will love our space” that is my goal and today I have taken another step to making my house a place I love filled only with things and colors I love. Ahhhhh (insert restful sigh here) now to sit back and relax and stare at my pillows.
You might also like...



I keep looking at the pictures for this post over and over again! I want to do this SOO BAD! except I need more pillows and I need help with color ideas. Any ideas/thoughts for either of those?
You SHOULD totally do it! colors are easy and since you are covering the pillows anyways just buy some on clearance or a garage sale for cheap! I have even washed mine in the washing machine =) As soon as you get settled in your new place I can help you with color choices if you still want.
These pillow covers turned out so cute! I would love it if you would come and link this up at my link party
Dandelion Wishes Wednesday.
Love the colors!! You did a fantastic job! Now it makes me want to make more pillow covers so I can put some in my living room, it needs color BAD!!
Cool!
I want to do this! New colored pillows looks like so much fun! Love the color choice!
Really cute colors! I need to redo my pillows but my sewing machine is so far away in the dark basement:(
Thanks on the color choices, I really am happy with them! Um, your machine is in the basement AND you are moving…..you don’t have time for pillows right now!!! Maybe after you move and get settled, then pillow time!
LOVE THEM! The colors are perfect!
This is the fabric we bought so long ago at Hobby Lobby, your mom was right on! I had exactly the right amount! Good thing you called her, she really know her stuff! for reals!